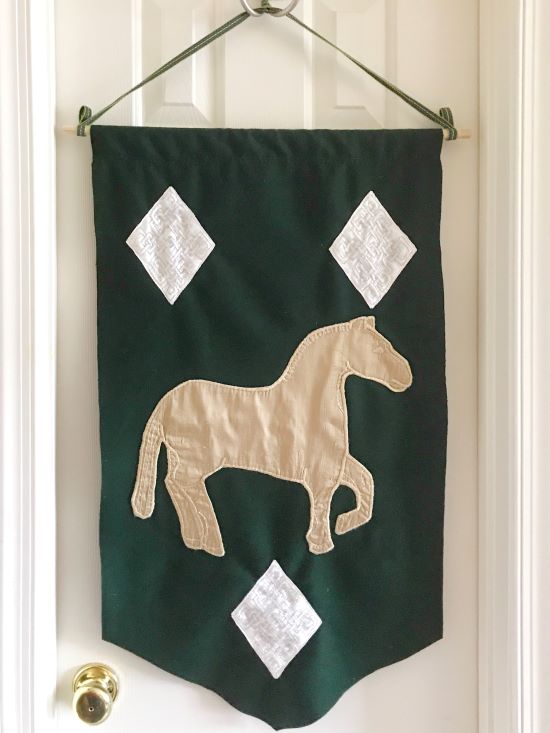
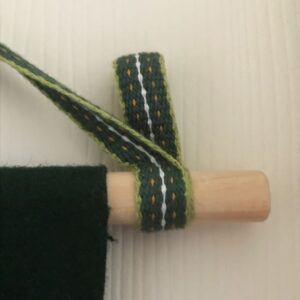
In the middle of 2020, I began work on an appliquéd banner of my arms, using a large scrap of green wool (from Ysabeau’s cloak) and scraps of gold and white silk. I handsewed the tube to fit around a hanging rod, wove the strap for hanging out of silk, started embroidering the lozenges for my device, and then… let it languish for a year.
After regarding the banner for a long time, I realized I’d made the base too big for regular usage. Mostly, I was annoyed that I couldn’t hang it well on a door (way too big) and that, for most of the year, the pole was smashing into the doorjamb. I also had the opportunity to see several other people’s banners, which gave me a better sense of what worked (and that my original was incredibly large). I also used several people’s banners to decorate shared space, so I had a better sense for what strap configurations worked (or didn’t).
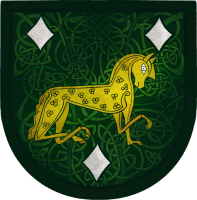
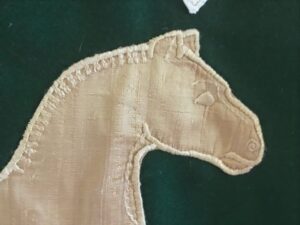
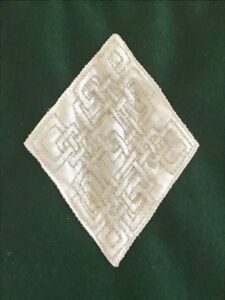
So, I cut the background down, fixed the tube, cut down the rod, and sanded small divots into the rod for the strap. While I previously had just tied on the strap, this time I sewed it down, with both a wide hanging loop and two smaller loops that could be attached to something else (versatility!). Then, I set down to complete the rest of the embroidery and applique. The lozenges were split-stitch embroidered with faux-silver thread in a knotwork pattern of my design. The horse’s design was adapted from a horse on the Sutton Hoo helmet, embroidered with a combination of satin and chain stitch. The horse and the lozenges were made of one layer of silk and one layer of linen for stability separate from the base, and then sewn on after.
And, because I’m extra, I covered up the applique stitches with chain stitch embroidery on the reverse/wrong side.
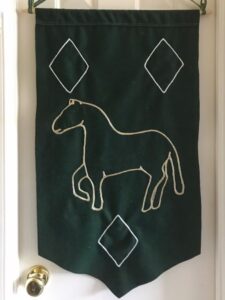
While the banner isn’t perfect (it definitely needs a lot of steaming and hanging to stretch out some of the wrinkles!), I’m glad that it’s done, and I’m looking forward to displaying it in 2022.